Activities, with a few suggestions, to add to your resources for teaching light. I presented this information at a workshop at the OSTA state conference.
 |
The Evidence Statement for NGSS 1-PS4-2 suggests observations in a dark room, a pinhole box, or a video of a cave explorer. Objects in darkness can be seen only when illuminated.
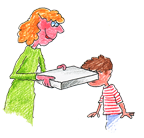
I don’t have those resources available so I cut a small hole in one end of a box and asked a child to look through the hole and tell me what is seen in the box. He can’t see anything because there’s so little light in the box the geometric shapes I glued on the opposite side of the box aren’t visible. When I open the lid the student is able to see the shapes I drew on the inside of the box. |
Notice how I’m holding the box by the end. I’m covering up a hole I cut at that end. This lets me use the box twice. Look in one end to try to see three circles, reverse the box to look in the other end to try to see four triangles. By covering the hole, there’s very little light in the box and students will only see the shapes when the box is opened.
 |
Some people think that there are animals who can see in the dark. Can they?
Check out this TED-Ed video by Anna Stckl to watch an explanation. If you have primary students, consider watching on your own and then showing the video without sound. It’s closed captioned so that can help you with a narrative! |
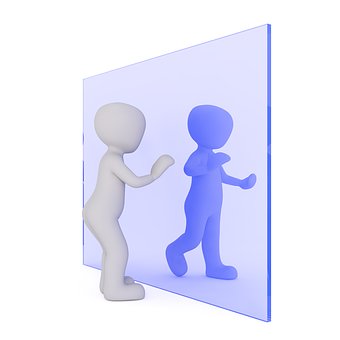
To see an object light must reflect from the object to your eye. A fun way to show this is with a darkened room, a laser pointer, and a spray bottle. I turn on the laser and hold it behind my hand so they can’t easily see where I’m pointing. They have to use mist from their spray bottle of water to find my laser light. Without the water, they don’t see the light travel across the room, they only see it reflect from the wall.
Â |
How does light travel through different materials? That’s the focus included in the Evidence Statement for NGSS 1-PS4-3.
An obvious suggestion is showing students different materials and discussing what is observed when the materials are held in front of a light source. You could have students complete a scavenger hunt. Both these activities are included in a great web site with engineering suggestions, TeachEngineering.
|
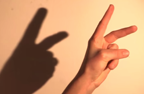 |
How about introducing shadows and shadow puppets? There are many online videos to consider, I like this one by Corina Bona.
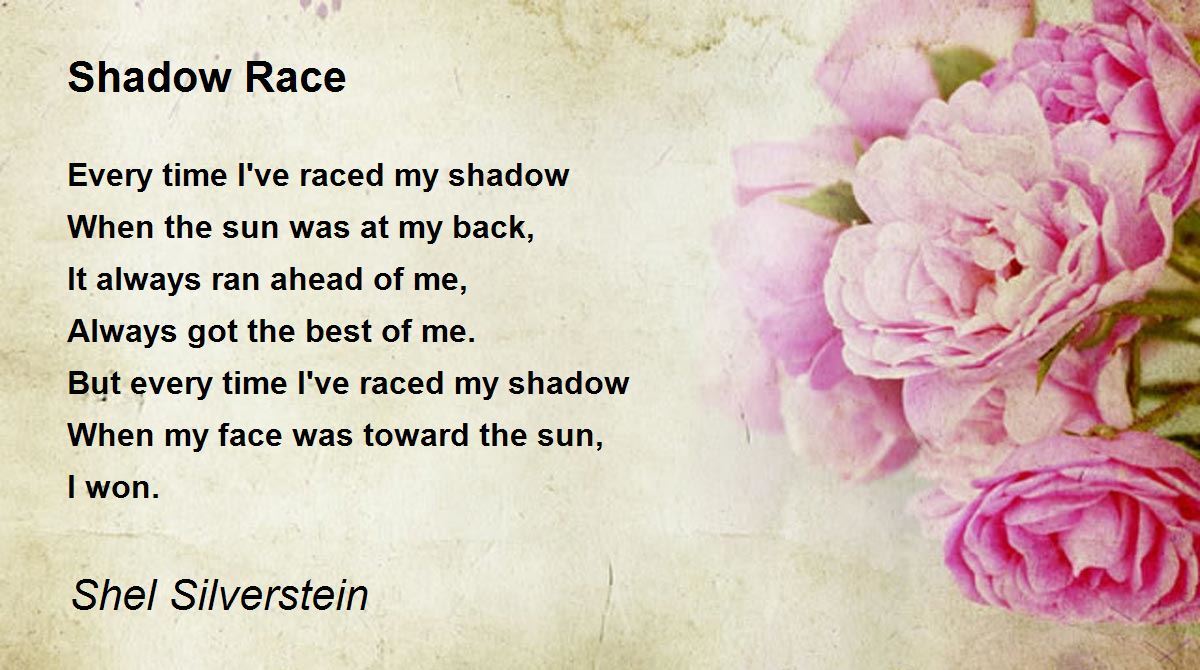
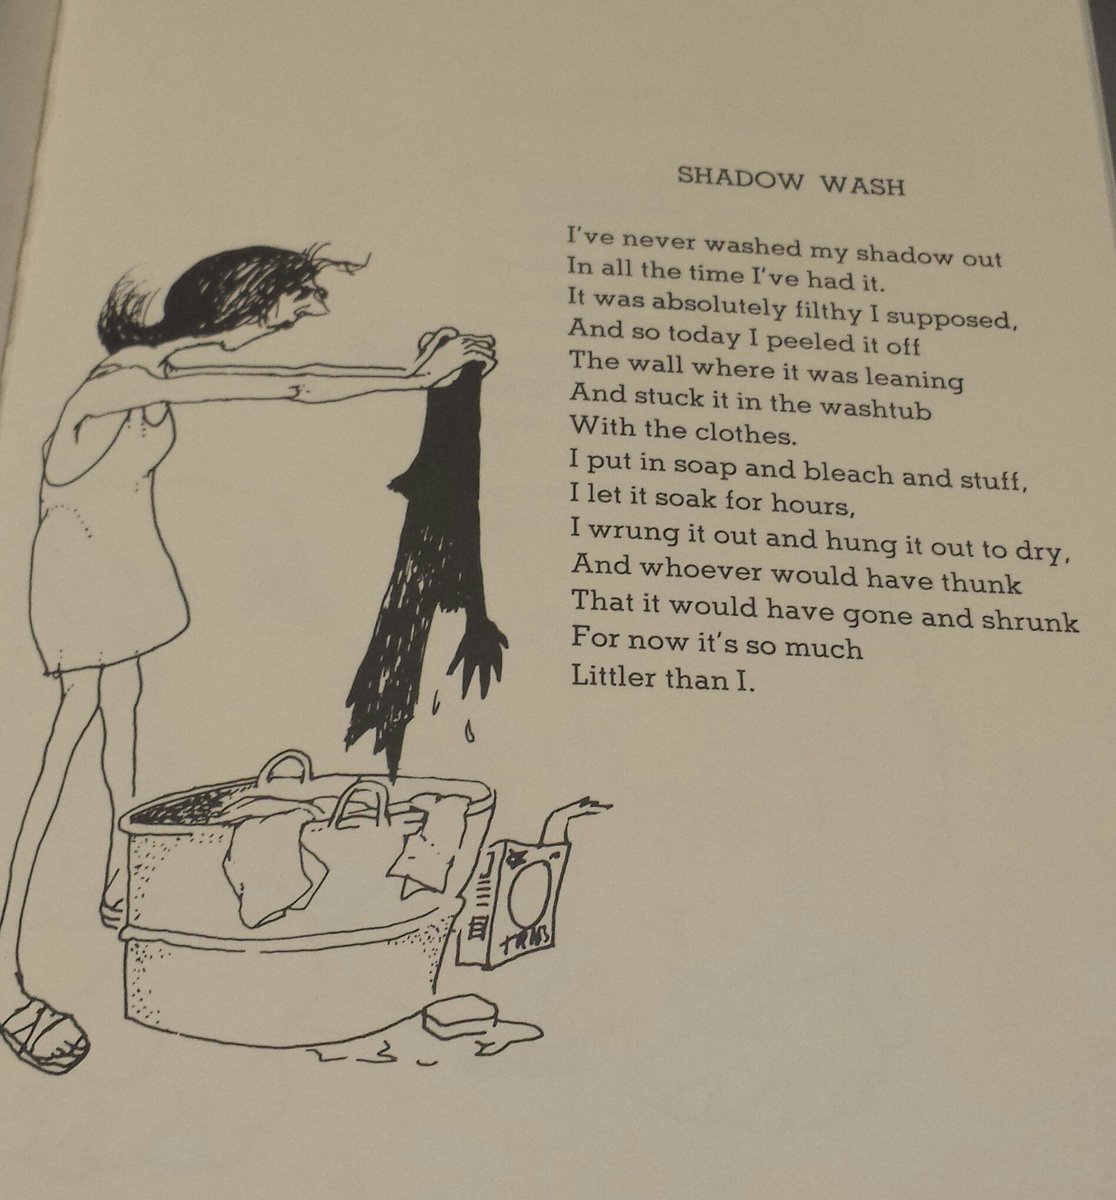
Darken the room, set up a bright light, and let kids try their hands at making shadows! Remember to read the poems “Shadow Race” and “Shadow Wash” by Shel Silverstein. |
For my workshop participants: We made a bottle with a floating frog and one with a floating fish. Here’s a video about hydrating the crystals. Here’s a video of the activity about creating the jar using a bug. If the videos don’t open, I download them and then they play from my computer.