Coffee filters are round so there’s no need to cut off extra paper. The paper is thin so it’s easier to cut several layers. Use clear tape in a few of the cutouts to attach the snowflake to the window where the translucent paper makes a lovely window scene.
It’s part of my Resources for Teaching about Snowflakes product at TpT. I wanted to share it with you because it snowed here in Portland and that can be rare for us! Often we are folding and cutting snowflakes in January to encourage a snowfall.
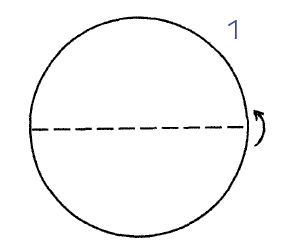
1. Flatten the filter and fold it in half.
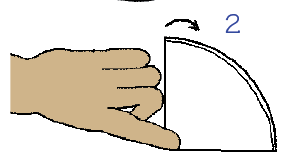
2. Fold in half again and pinch just near the corner, not the whole side.
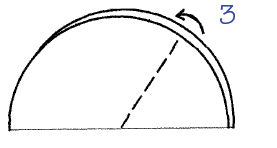
3. Starting at pinch, fold over one third of the coffee filter.
This can be the challenging part and students may need help with this.
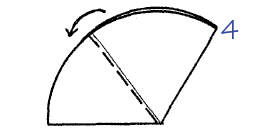
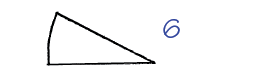
4. Fold in half.
I suggest this is a wide waffle cone.
5. Fold in half again.
I suggest this is a narrower sugar cone.

6. Cut out shapes from the sides.Â
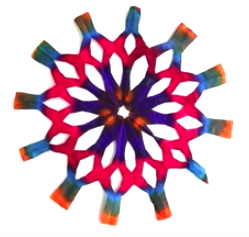
Unfold to reveal the snowflake.
| Babble Dabble Do created a video to show how to fold a coffee filter to create a snowflake that has six points. Watch from 0:24-0:46.
The video shows one more fold than I use with students. Try it out to find if it’s still easy to cut through several layers of paper. For younger students the paper may be very difficult to cut with that extra fold. I’ve never used color using the process shown in the video, maybe a new option to consider! |
 |
| Support struggling students by giving them a prefolded coffee filter that’s been paperclipped to hold the folds in place or letting them draw the cutouts they want on the folded sides and having an adult cut out the snowflake. |
 |
Challenge capable students by asking them to cut out snowflakes with a recognizable shape like a snowman. My snowflake has snowmen and if you look close they’re on t-shirts! Quite by accident I assure you as I find it hard to predict the results of my cuts and often unfold to check and refold to cut more paper when I create a snowflake. |
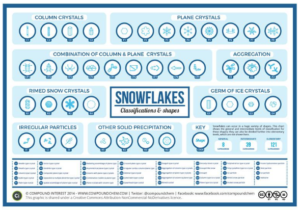 |
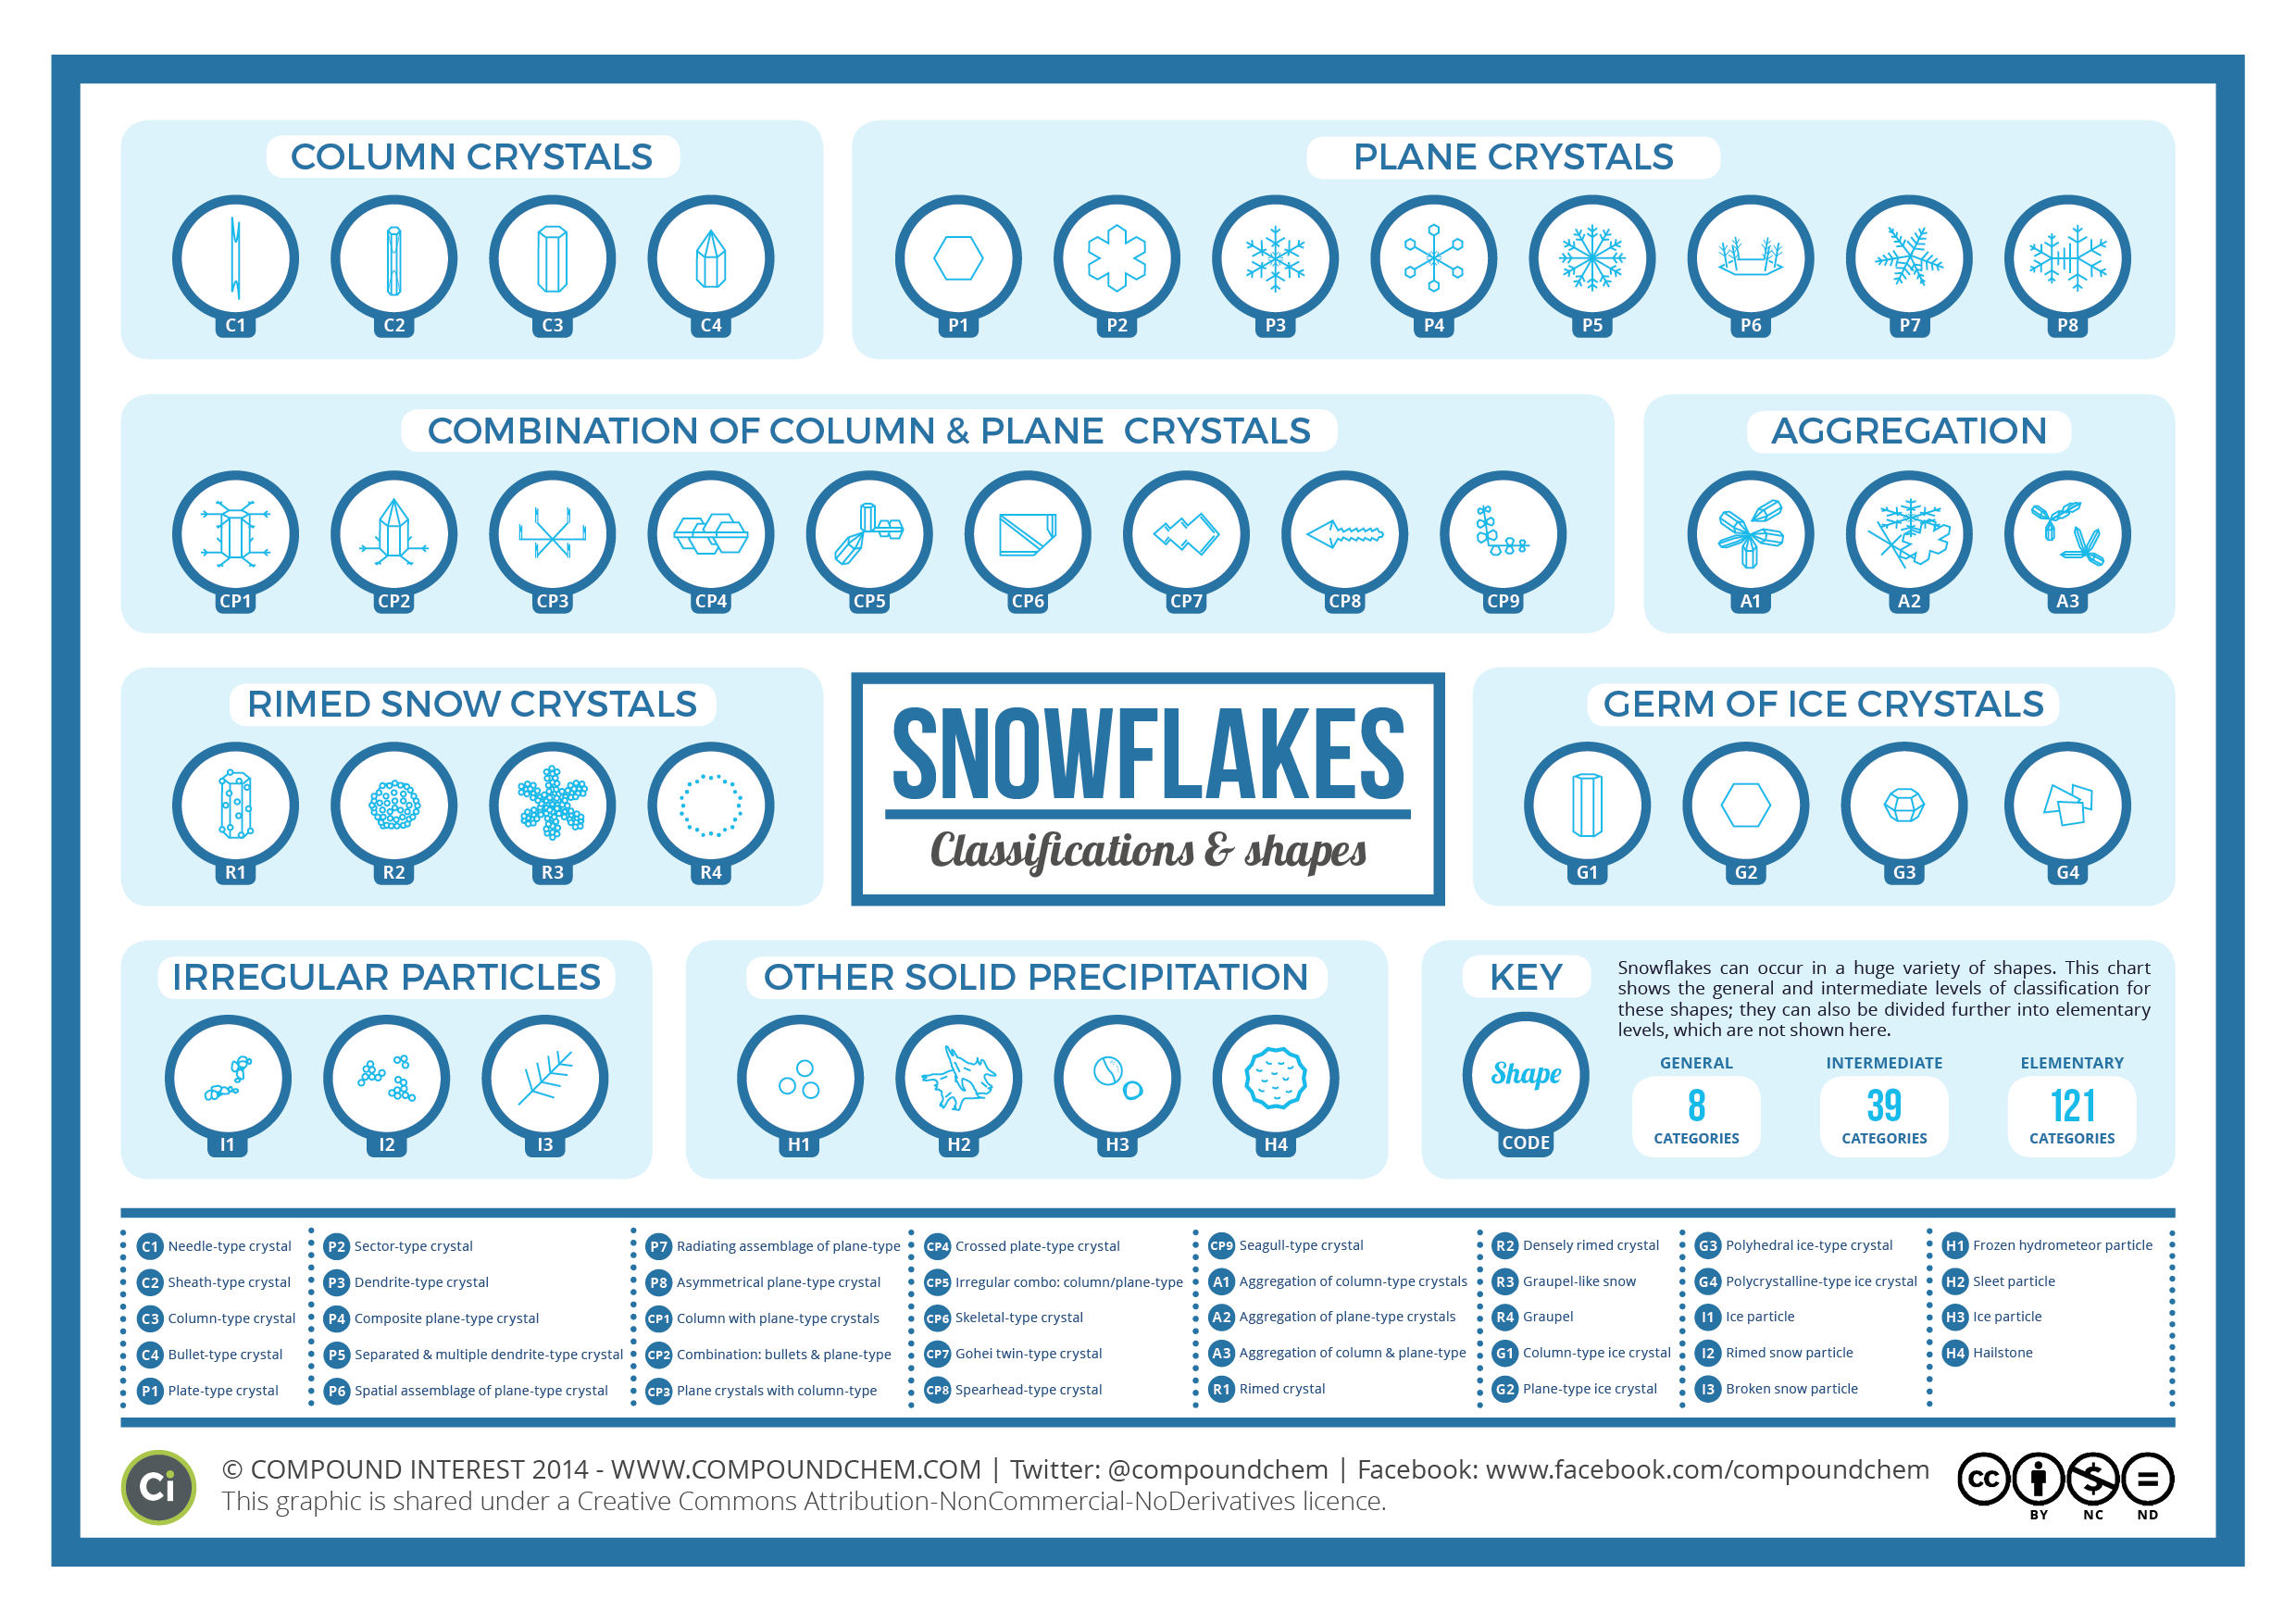
Interested in the different types of snowflakes, not just plane snowflakes?
Smithsonianmag.com has an article with a graphic showing the different types of snowflakes that was created by chemistry teacher Andy Brunning. You can download the graphic and read a brief explanation for how snowflakes are created. |